Key Takeaways
- A slab leak is a pressurized water-line failure beneath or within a concrete foundation.
- Warm flooring, unexplained water use, damp finishes, and running-water sounds justify testing but do not identify the source by themselves.
- Detection normally combines visible checks, meter observation, line isolation, pressure testing, and locating equipment.
- Direct repair, rerouting, and partial repiping solve different pipe and access problems.
What Is a Slab Leak?
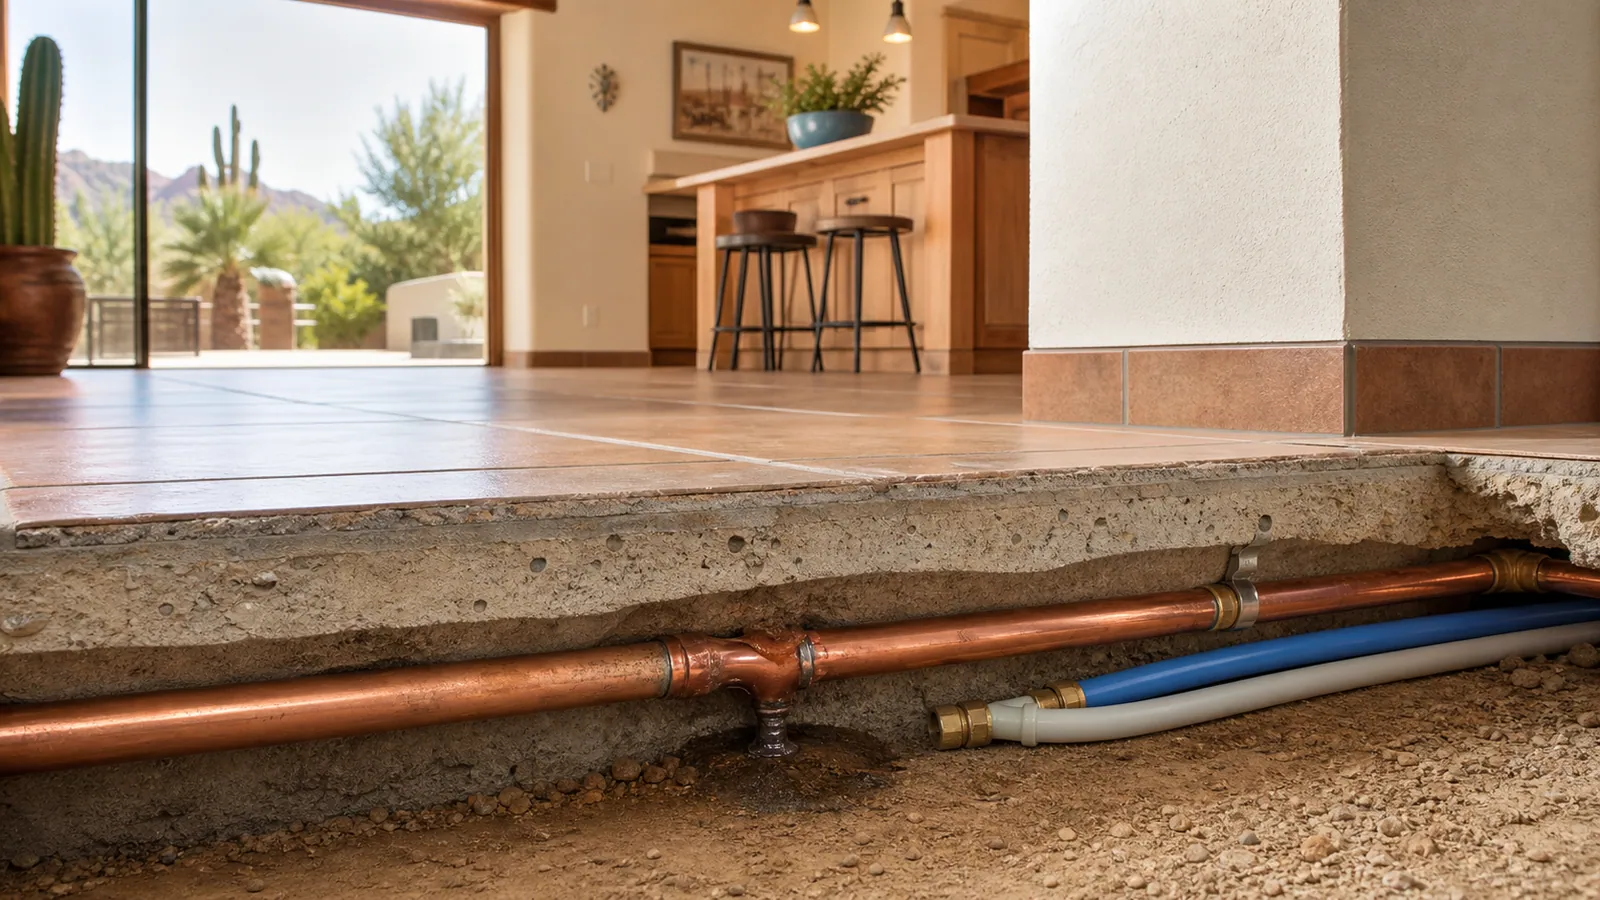
A slab leak occurs when a pressurized hot- or cold-water pipe fails beneath or inside a concrete slab. Water may remain hidden below the floor, travel along the pipe trench, or appear at a baseboard or foundation edge far from the damaged section.
The phrase describes the location of the plumbing problem, not its cause. Corrosion, abrasion, stressed joints, installation defects, pressure, or movement can contribute. A symptom alone cannot show which cause applies to a particular home.
| Observation | Possible explanation | Useful next check |
|---|---|---|
| Warm strip across tile | Hot-water line, sunlight, duct or appliance heat | Isolate the hot-water system |
| Meter moves with fixtures off | Plumbing, irrigation, pool or appliance use | Shut off each possible source |
| Damp baseboard | Slab, wall, roof, drain or exterior moisture | Trace moisture and test supply lines |
| Pressure drops suddenly | Active line failure or utility issue | Check neighbors, meter and private plumbing |
How Slab-Leak Detection Works
A responsible inspection begins with evidence. The technician reviews the timing and location of symptoms, checks accessible fixtures and exterior systems, observes the meter, and determines whether the property actually has unexplained water flow.
If water loss remains likely, hot and cold systems can be isolated and pressure-tested. Acoustic listening, line tracing, thermal imaging, and moisture measurements may then narrow the suspected route. No single tool guarantees a precise result in every floor assembly.
- Rule out toilets, irrigation, pools, appliances, and visible service lines.
- Confirm repeatable water or pressure loss.
- Identify the affected hot, cold, exterior, or branch system.
- Use locating tools after the system has been narrowed.
How Repair Options Are Compared
Direct access can make sense for one well-located failure when the surrounding pipe appears serviceable and the floor can be restored reasonably. Rerouting bypasses the failed run through walls, ceilings, a garage, an attic, or another approved path. Partial repiping replaces a larger branch when repeated failures make another spot repair poor value.
The estimate should define the pipe route, material, shutoff time, testing, permits, concrete closure, drywall work, flooring exclusions, and warranty terms. The least disruptive option is not automatically the least expensive or the best long-term choice.
How to Prepare for a Slab-Leak Inspection
A useful inspection begins with a controlled snapshot of the property. Note the dates of unusual meter readings, water-heater cycling, warm flooring, damp finishes, pressure changes, and recent irrigation or pool use. Bring several water bills if consumption changed. A simple floor plan showing the meter, main shutoff, water heater, fixtures, manifolds, additions, and earlier plumbing repairs helps the technician understand how the system may be routed.
Provide access to the meter, water heater, fixture shutoffs, garage, mechanical spaces, and the rooms where symptoms appear. Avoid running dishwashers, washing machines, irrigation, pool autofill, or water-treatment equipment during a controlled meter or pressure test unless the technician asks. These steps do not diagnose the failure, but they reduce avoidable uncertainty and make the slab leak detection process easier to document.
- Photograph meter readings and visible damage with dates.
- List recent plumbing, flooring, remodeling, and foundation work.
- Identify automatic water users before testing begins.
- Ask for the affected system, evidence, and proposed access in writing.
Related Reading and Services
Use these supporting resources to move from the current question to the next useful diagnostic or repair decision.
- Review the warning signs of a slab leakCompare meter, temperature, sound, moisture, and water-heater clues before assuming the source is beneath the floor.
- See how professional leak detection worksFollow the sequence from visible checks and isolation to pressure testing and targeted locating.
- Compare spot repair with reroutingUnderstand how access, pipe history, finish damage, and route conditions shape the repair decision.
- Tucson slab leak detection serviceReview the diagnostic service page when you are ready to discuss symptoms, testing, and a written scope.
Frequently Asked Questions
Can a slab leak be confirmed from a warm floor?
No. A warm floor is a useful clue, but sunlight, ductwork, appliances, and recirculation systems can also create warmth. Hot-line isolation and pressure testing provide stronger evidence.
Does detection always require opening the floor?
Often the system and suspected area can be narrowed without demolition. Limited access may still be needed for confirmation or repair when readings are unclear or conditions are complex.
Should the main water be shut off?
Shut it off from a safe location when water is actively spreading, pressure drops suddenly, or damage is increasing. A non-emergency symptom can usually be assessed before a prolonged whole-house shutdown.
Which repair method is best?
It depends on pipe condition, failure history, access, finished surfaces, route length, and the fixtures served. A written comparison should explain those trade-offs.