Key Takeaways
- Detection begins by confirming water loss, not scanning the floor.
- Hot, cold, exterior, and branch systems should be separated where possible.
- Tools produce different types of evidence.
- The report should state findings, limitations, and confidence.
1. Confirm That Water Is Being Lost
The provider reviews bills, alerts, meter behavior, symptoms, plumbing layout, and recent work. Toilets, irrigation, pools, appliances, drains, and visible lines are checked first.
This step prevents a normal heat pattern or exterior leak from being treated as an under-slab failure.
2. Isolate and Pressure-Test
The hot-water system can often be separated at the heater. Cold branches, exterior service lines, or manifolds may require additional valves and staged tests.
A repeatable pressure drop supports active loss in the isolated system. Stable pressure narrows attention elsewhere, subject to the test conditions and equipment limits.
| Stage | Question answered | Typical evidence |
|---|---|---|
| Visible checks | Is there an obvious source? | Fixture, irrigation or appliance findings |
| Meter test | Is metered flow continuing? | Recorded flow or stable display |
| Isolation | Which system is involved? | Hot, cold, branch or service line |
| Locating | Where is the suspected route or area? | Acoustic, thermal, trace and moisture patterns |
3. Locate and Document
Acoustic listening identifies sound patterns; line tracing estimates the pipe route; thermal imaging maps surface temperature; moisture tools show affected finishes. Results are compared rather than treated as interchangeable proof.
The final report should document tests, readings, marked areas, limitations, photographs, and repair options. It should distinguish confirmed facts from professional judgment.
Professional Detection Builds an Evidence Chain
A disciplined inspection moves from broad questions to narrower ones. The technician first confirms whether water is flowing when it should not, then separates the service line, outdoor systems, hot distribution, cold distribution, and accessible branches as the property allows. Pressure readings are repeated under documented conditions. Only after one system shows consistent loss does locating equipment become useful. This sequence reduces false conclusions from normal heat, ambient noise, old moisture, or an unrelated appliance.
The locating stage combines pipe-route information with physical evidence. Plans, visible pipe entries, manifolds, fixture groups, and electronic tracing suggest where the line may run. Acoustic sensors compare leak-related vibration, thermal imaging compares surface temperature, and moisture instruments map affected materials. Each method has limits, so the report should explain where evidence overlaps and how confident the technician is—not claim that a device can see an exact break through concrete.
What Good Slab-Leak Documentation Should Include
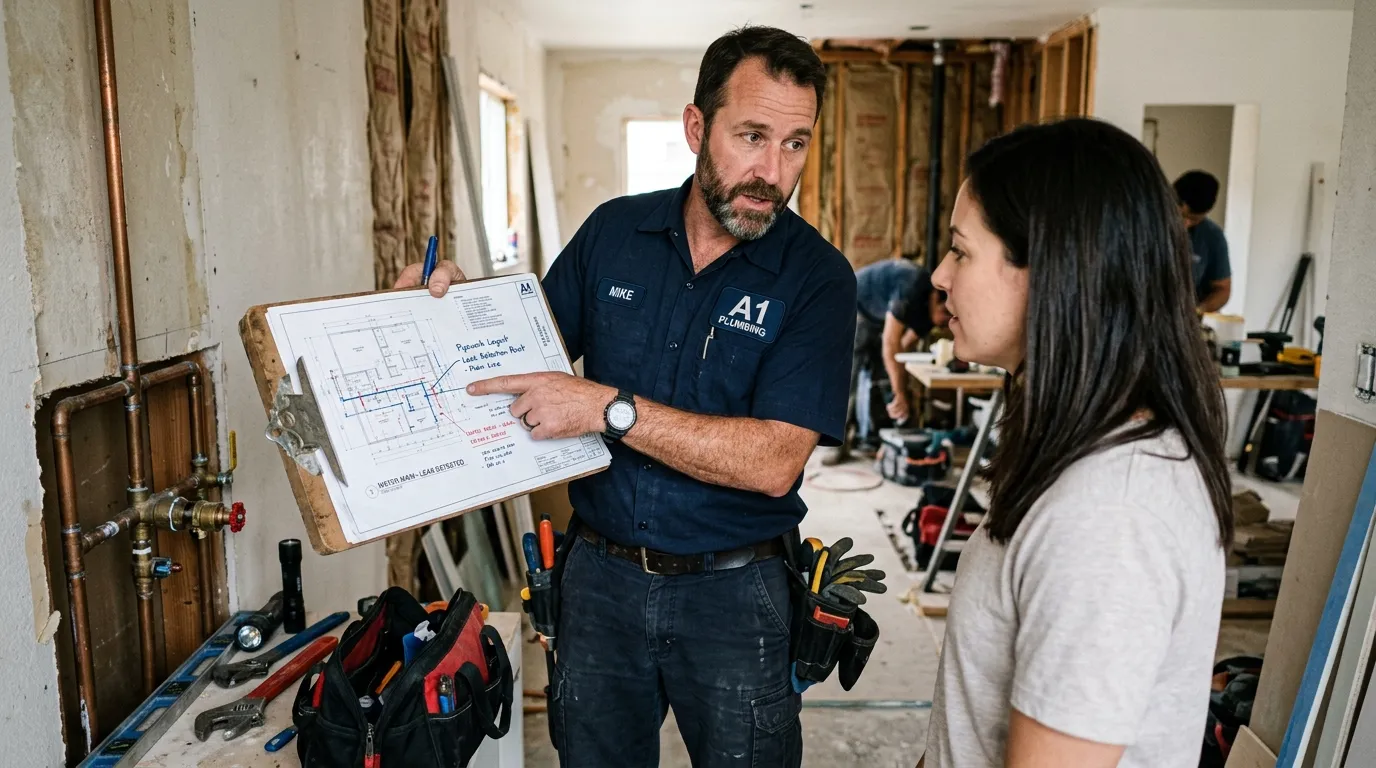
Useful documentation identifies the meter and valves used, the systems isolated, starting and ending pressure, test duration, equipment, operating conditions, and anything that limited the result. Photographs may show gauge readings, meter flow, thermal patterns, moisture locations, and marked floor areas. A sketch should connect the suspected pipe route with the fixtures it serves and distinguish a confirmed failing system from an estimated access point.
The final recommendation should state the next decision: monitor an intermittent condition, perform another isolation test, open a limited area for direct repair, or compare a reroute. It should also identify exclusions such as flooring, concrete closure, drywall, drying, permits, or structural assessment. Clear records let homeowners compare proposals on the same evidence and help the repair contractor understand what was tested before arriving.
- Confirm flow before attempting to locate it.
- Test hot, cold, service, and exterior systems separately where possible.
- Record conditions, readings, duration, and limitations.
- Connect every repair recommendation to documented evidence.
Related Reading and Services
Use these supporting resources to move from the current question to the next useful diagnostic or repair decision.
- Follow the water-line pressure-test procedureUnderstand isolation, stabilization, repeat testing, and common causes of misleading gauge movement.
- See why multiple leak-detection tools are usedLearn how meter, pressure, route, sound, heat, and moisture evidence answer different questions.
- Review the detection report checklistKnow which readings, photographs, marked locations, limitations, and scope details should be recorded.
- Tucson slab leak detectionReview the complete service process when a concealed supply-line loss needs professional testing and locating.
Frequently Asked Questions
Can detection be completed in one visit?
Many cases can, but complex branches, intermittent loss, inaccessible valves, or more than one problem may require additional testing.
Is detection the same as repair?
No. Detection identifies the affected system and suspected area; repair opens or bypasses the line and verifies the completed work.
Why test pressure before listening?
It confirms which system is losing pressure and reduces the area where acoustic evidence is relevant.
What if no active loss is found?
The provider should document the test conditions and discuss intermittent sources, monitoring, or other moisture investigations instead of inventing a location.